How to Clean & Sanitize Your Breast Pump
Jump to Section

Welcome to the fourth trimester!
A mom can dream that maternity leave would be full of binging Netflix and browsing the mall with your cute new stroller – but the reality is it’s more like constant dirty diapers, piles of laundry, and pumping and sanitizing on repeat [at least for the first few months].
As a new parent, one task that is often overlooked is the constant sanitizing that comes along with cleaning your pump and pumping parts or cleaning bottles for babe. So, today we are sharing with you the details you'll need to effectively clean and sterilize your breast pump and pumping parts. We promise, once you get the hang of it, you'll be back to binge-watching instead of boiling during nap time.
As a new parent, one task that is often overlooked is the constant sanitizing that comes along with cleaning your pump and pumping parts or cleaning bottles for babe. So, today we are sharing with you the details you'll need to effectively clean and sterilize your breast pump and pumping parts. We promise, once you get the hang of it, you'll be back to binge-watching instead of boiling during nap time.
Why Sanitize?
Sterilizing is that extra step to kill more germs on items that have been cleaned. The CDC website recommends sanitizing at least once a day. If you are pumping, that also includes your pump and pump parts. Anything that has come into contact with milk needs to be cleaned properly. So, after you’ve expressed, wash everything up so that you can grab your pump when required.May we remind you – nothing is worse than waking with engorged breasts and having to clean your pump before you can get some relief.
Clean vs. Sanitize
Always rinse your pump and parts after each use and between pumping sessions.If you plan to pump numerous times a day, a quick rinse is okay between sessions BUT you will need to fully sterilize your pump and pump parts at least once a day to prevent germs and bacteria that can be harmful to a newborn.
Step 1: Rinse. Wash. Rinse.
You heard us – breast shields, membranes, valves, nipples, rings, caps, plus other odds & ends – give them all a rinse to remove any leftover milk.- Wash under running water.
- Wash with soap.
- Rinse off any bubbles one final time before moving on to boiling.
Pro Tip: if you have a dishwasher, you can skip the rinse, wash, rinse steps and go straight to step #2 below for the sanitizing stage. You can put small parts in the cutlery holder and everything else should be fine on the top rack.
Step 2: Boil
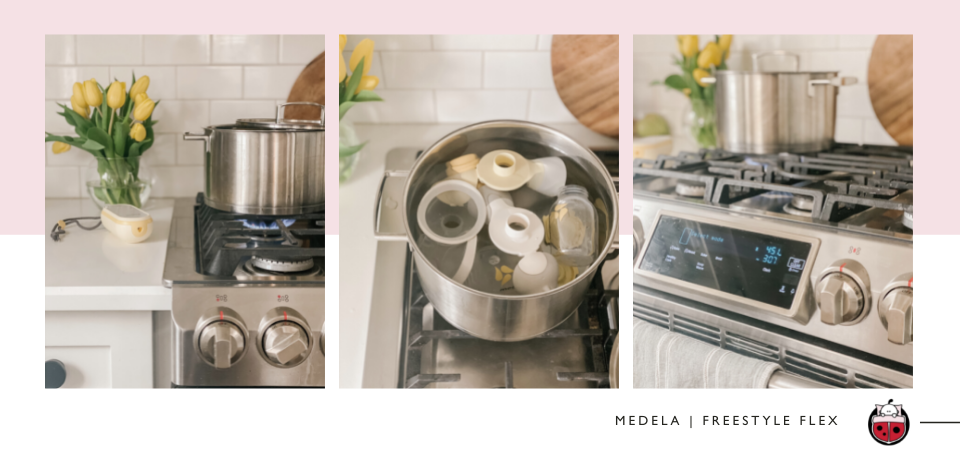
“Hey, Google – set a timer for 5 min”- Place your pump parts in the water and boil.
- Set a timer for 5 min BUT ensure that your pump parts and bottles are submerged under water the entire time.

Step 3: Remove & Store
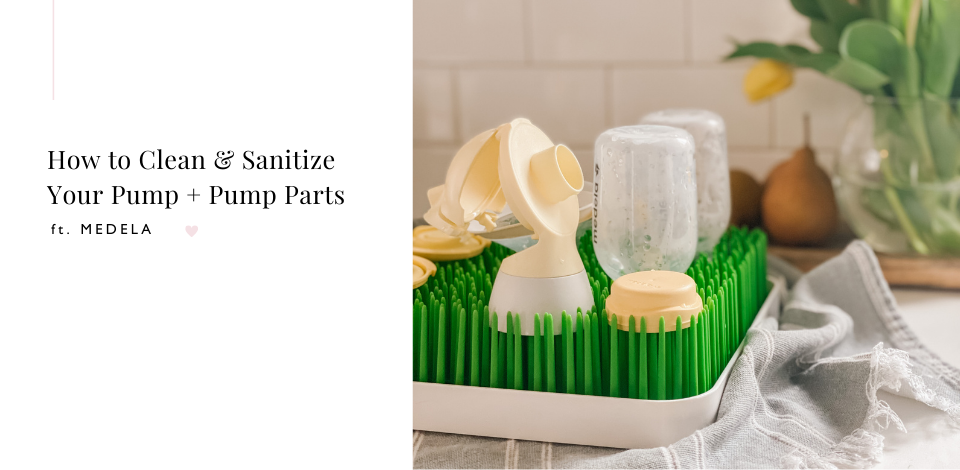
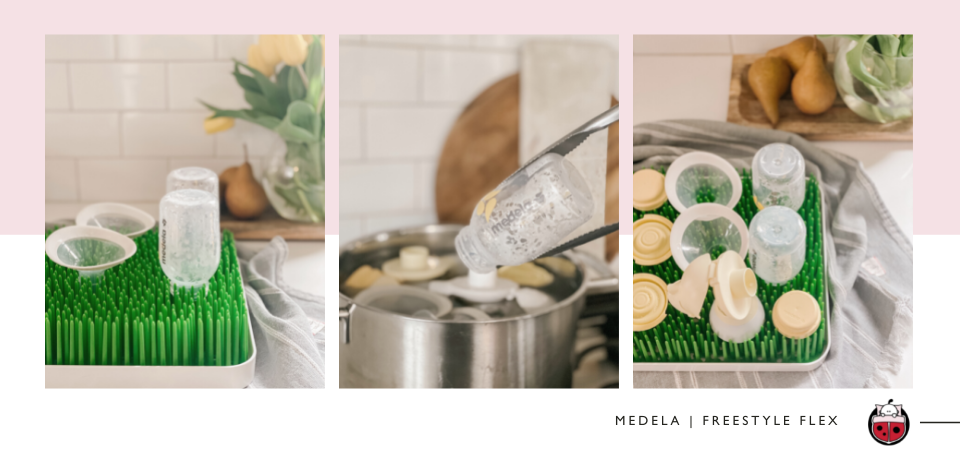
Remove with tongs and place your bottles, pumping parts, and other treasures on a drying rack to air-dry fully before packing them away for your next pumping session.
Do I Really Have To Boil?
The short answer? Yes.For those who own a microwave, the micro steam bags by Medela are a lifesaver! Alternatively, the quick clean spray that we mentioned above is great for use on the go when you need to clean your parts in between pumping sessions.

images[[metafield_end]]
Embracing the Journey
If you are looking for more support while on your breastfeeding journey, check out our podcast, 40 Weeks to Forever where we chat about all things babies and breastfeeding in Episode 2. We dispel some common breastfeeding myths, chat about what to look for if things don’t feel right, and how to let go of the guilt when it is time to end your breastfeeding journey.Happy Pumping


